
This is the second post in a step-by-step Alexa skill creation guide:
- Introduction
- Set up Accounts (this post)
- Create the Interaction Model
- Create the Intent Handler
- Test the Skill
In this post we’ll walk through setting up your Amazon developer account and creating an AWS account. The process is fairly straight-forward, so if you’d like to go ahead without reading through this post, head over to the following two sites and set up your accounts:
| https://developer.amazon.com | When you get to this site, click “Sign In” and sign in with your amazon shopping account. |
| https://aws.amazon.com | This is a separate account from your developer/shopping account. If you want to keep things simple and use the same credentials, just remember that they are separate accounts. Changing your password in one account will not automatically change it in the other account. |
If you would like to see every step in the sign-up/configuration process, read on. The screen shots reflect that steps in the process as of February 2018, and you can click on any of them for a larger view.
Set Up An Amazon Developer Account
Assuming you have an Amazon shopping account, head over https://developer.amazon.com and click “Sign In” in the upper right:

Sign in using your Amazon shopping account user name and password:

Fill out the profile information:

Accept the app distribution agreement:

Answer the two payments questions – set both of them to “No” for now. If you ever change your mind and decide you want answer yes to these questions, you’ll need to fill out additional information.

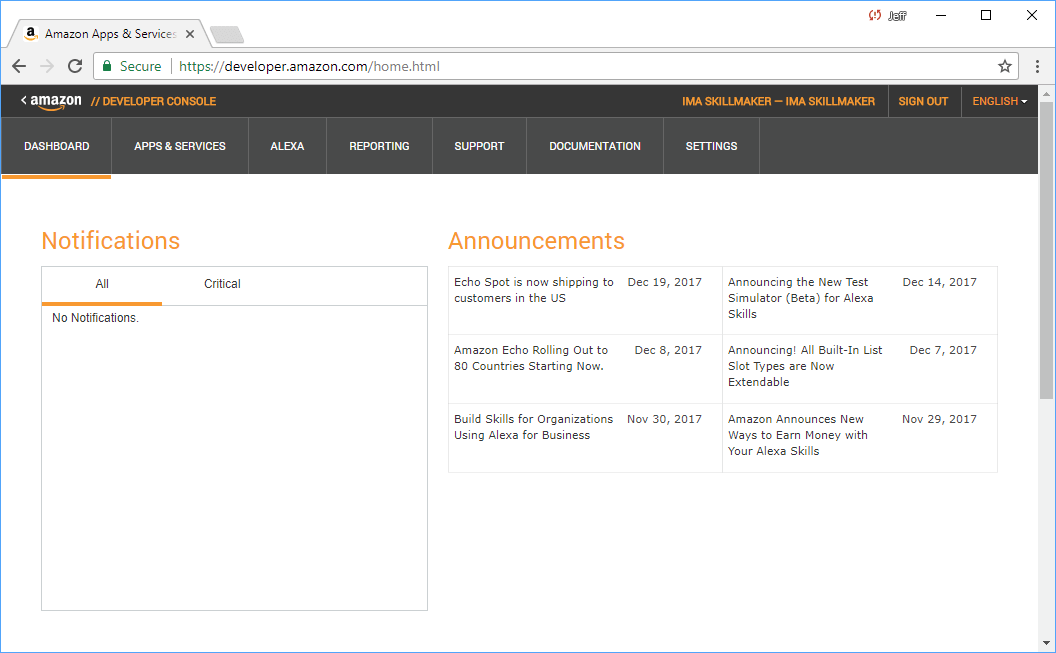
And with that, you’ll be on the dashboard of your developer account:
Create an AWS Account
To create your AWS account, go to https://aws.amazon.com and click “Create an AWS Account”:

Enter an email address and password for your AWS account. To keep things simple, you can use the same email address and password as your Amazon shopping account, but remember, they are two distinct accounts; if you change your password in one account, it doesn’t automatically change in the other.

Enter your contact information (choose “Personal” as your Account type):

You’ll need a credit card for this step. Again, nothing in the skill that we are creating in this guide will cost anything, but if you do create skills that use additional AWS services, you may incur costs for those services.

Here’s where you’ll need your cell phone. Click “Call Me Now” on the Phone Verification step.

After clicking “Call Me Now”, AWS will display a 4 digit code and call your phone. You’ll need to enter this 4 digit code when prompted on the call.

After entering the 4 digit code, you’ll be informed that your phone is verified.

Pick a support plan. Free is good.

After selecting a support plan, you’ll be taken to a screen letting you know your account is being activated. Check your email for a welcome message from AWS. After you activate your account, click “Sign In to the Console”.

After signing in, you’ll be on the dashboard screen of your AWS account.

Next Steps
Now that our accounts are ready, we’ll go on to the next step: creating the interaction model.